Basement Lowering (Underpinning)
Basement Lowering Techniques: Underpinning or Benching

Most of the older houses in Toronto were built with basements that were used as storages because extra living space was not needed. Nowadays, the housing price on the market is going up, and most people prefer to extend their livable space turning their basements into a functional room for the family because moving seems to be rather expensive. That is why basement lowering has gained much popularity.
- 100% Customer Satisfaction
- 25 Years NO LEAKS Guaranteed!
- Licensed and Insured
- In Business since 2014!
- Over 800 positive reviews
- Solutions for every budget
Benefits of Underpinning Your Basement:
- Your home will be accessed easily with such a construction.
- You can increase the height of your ceiling and the overall lighting.
- Structural problems of the foundation will be eliminated.
- The project belongs to the least expensive ones.
In addition, you can get extra benefits from underpinning. Your basement may be supplied with heated flooring and large windows. You can also arrange your personal workout zone there!
Steps of Basement Lowering/Underpinning
When homes were purchased many years ago, the basement was never the unique selling point of the house. It was seen as the cold, musty room in the house that was used simply for doing laundry or storing boxes. Now, basements have become an acceptable living space and can be used for a variety of reasons. Underpinning basement walls can allow you to put in a pool table, home theater, TV, and other cool things! In order to accomplish this, underpinning is generally required. Lowering allows you to get rid of or hide items such as support column posts, furnaces, and water heaters.
Moreover, underpinning is beneficial because you can add luxuries to your home space such as heated flooring, large windows, or even your very own walkout!
Step 1. Basement Lowering in Toronto and GTA
Underpinning of the existing footing of the foundation is used for increasing the basement height. The method is applied under the already existing foundation to maximize the basement space.
There are three stages of this method application done in a certain sequence. There are separate sections that are from 3 to 4 feet wide and 2 to 3 ft deep. Such a variety is caused by the soil conditions. Everything depends on the type of foundation of your house and the aggregate material and its compaction on which the house has been built.
The three-stage approach is necessary because, since the foundation is carrying the load, undermining is allowed only for a small section of the foundation wall at the same time. When the stage sequence is followed, the basement is lowered in a safe and well-controlled way. No shifting or settling in the house structure occurs with such a method.
The underpinning process consists of the following steps:
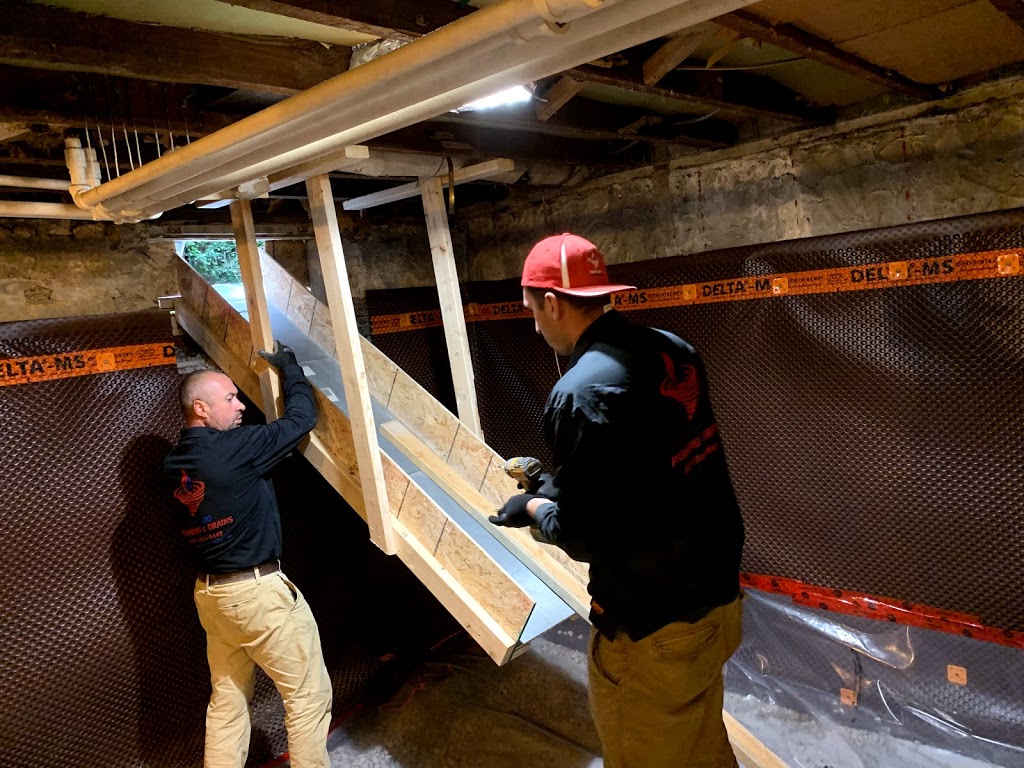
- First, there is a need to remove the concrete floor and to excavate the soil for proper elevation.
- Dig out the pins in three stages in accordance with the engineer’s drawings.
- If there is a need for new posts, install new footings for them. To start, you will have temporary jacks to support the beam.
- When the first stage has been completed, the 2-inch space between the footings and concrete appears. That is why a 2-inch dry pack grout should be installed.
- After the completion of the three stages, install the new plumbing. There is a need for the sewer injector if the elevations for plumbing do not meet.
- If you want to waterproof your house reliably from the inside, the interior drainage system should be installed.
- Arrange the base by placing a minimum of 3 inches of ¾ gravel on the floor.
- Install the new concrete floor and finish the trowel.
Step 2. Benching
“Basement benching” or “bench-footing” means a concrete bench created over the stable excavation slope. It is used when you need to lower a basement floor but you do not want to extend the footing of the foundation walls to a lower level. So, the existing footings are left without any changes. Instead, you maintain a stable excavation slope that is located below the footings of the foundation wall. The protection ‘bench’ made of concrete is created over the top of the slope. It is made of the combination of rebar and concrete and placed around the inside perimeter of the entire structure.
Benching Process:
- Remove the concrete floor.
- Excavate the soil to the proper level of elevations. Pending is needed on the required height to determine how far the concrete will project out from the wall.
- The concrete bench should be 1ft to 1 ½ ft projecting out from the internal wall if you lower the basement 1 ft down.
- The perimeter should be formed after excavating to pour the benching.
- Install the new plumbing. Use a sewer injector if the elevations for plumbing do not meet.
- Install the interior drainage system to waterproof your house.
- Create the base placing a minimum of 3 inches of ¾ gravel on the floor.
- After the new concrete floor has been installed, finish the trowel.
Step 3. Lowering Basement Floor
You can provide your living space with more headroom by lowering the basement floor. According to the building codes established for most communities, every living space should have at least 7 feet of height. In some cities, the requirements are established for 7 ½ or more feet.
Moreover, if the living space is too small, that can evoke the feeling of claustrophobia in some individuals, or people just feel uncomfortable. You can solve these minor issues by lowering the basement floor. It will help maintain the overall comfort of this room.
The main reason why homeowners need to lower the basement floor is to put up its walls and turn the basement into the living area for the family members or renters.

OUR GUARANTEE
Reputable and Licensed team for your next project!
- Guaranteed best price!
- Job completed on time!
- Licensed and Insured Company!

Serhiy Marunchuk
Company Owner
OUR TESTIMONIAL
Real reviews, from real people. Read our google reviews and understand why Tornado-Plumbing is a great choice for all your plumbing needs.


Recent Blog Articles
Signs You May Need to Have Your Drains Cleaned
When was the last time you checked the condition of your drains? For most people, arranging an inspection of their property’s drainage network is low on their list of priorities – which is a shame! Over time, it’s almost inevitable that detritus will build up in your drains, eventually leading to an unwanted blockage. […]
Things to Look For When Hiring a Plumber
We have all heard horror stories of plumbers who show up, make the problem worse, charge an arm and a leg, and then mysteriously vanish. Nobody wants to flush money down the toilet like that (no pun intended), so how can you avoid it? This article discusses how to hire a quality plumber, the questions […]
The Benefits of Hiring a Professional Plumber
Nobody wants to pay out more than they need to resolve plumbing issues. As a result, many homeowners decide to fix leaks or other defects themselves, hoping to save money. Unfortunately, DIY plumbing solutions frequently create more problems than they solve. In the long term, the cost of the structural damage and inconvenience caused by […]

